I’ve been fascinated by hobby electronics for years, especially sewable components. I’ve dabbled a little, bought a spool of conductive thread years back and embroidered a simple circuit.
I’m once again motivated to learn, and oh my God has the technology come a long way! There are now different types and weights of conductive thread, super cheap microcontrollers specifically designed to be sewn and worn, and tons of sensors, lights, GPS modules, etc. made for crafters.
Although I have some grand plans, my ideas far outstrip my skill set. So I’m starting fairly simple. I want to do something more complex than just lighting up LEDs on embroidery. I found these amazing LilyPad parts on Sparkfun and just started playing with them yesterday.
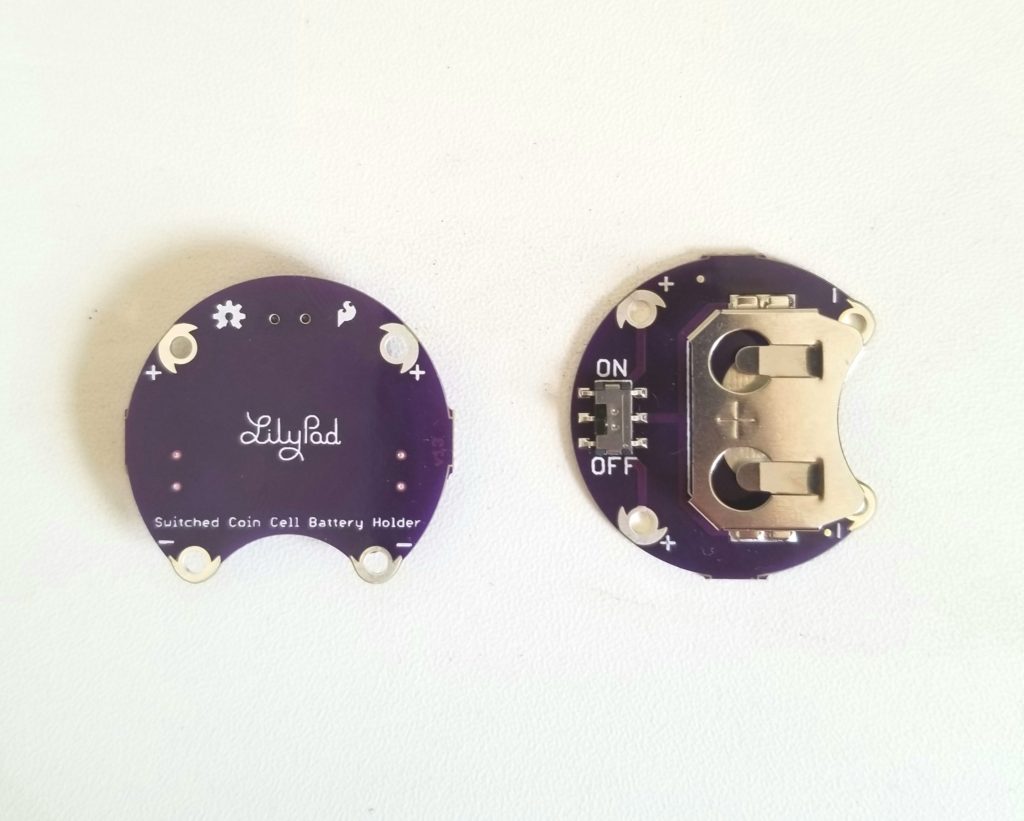
The little battery holders have built in switches, which means you save several steps in the sewing process. They hold a coin cell battery, so they’re best for very low power projects, perfect for light up embroidery. And the adorable TinyTwinkle is a pre-programmed microcontroller that makes lights twinkle.
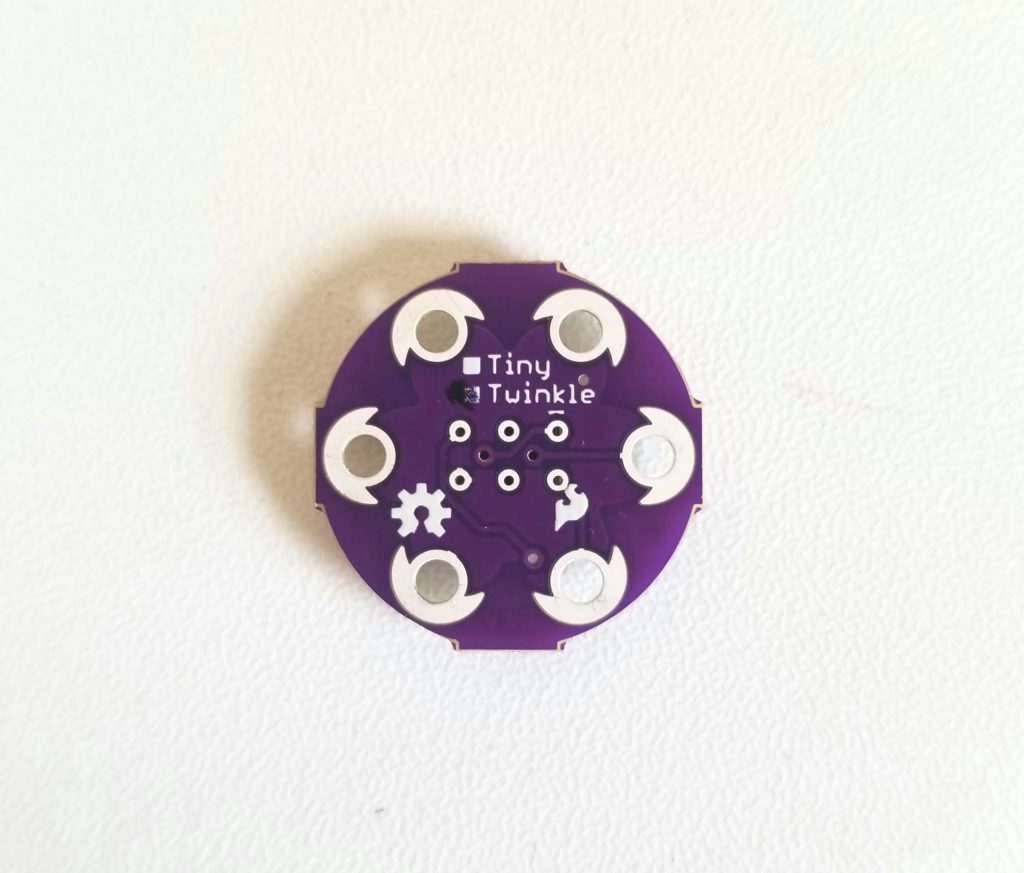
I’m still terrible at writing code, so getting a microcontroller I can use right out of the box is amazing.
It does make the circuit a little more complicated. It’s no longer just a battery, some thread, and an LED. But that makes it the perfect next step, right?
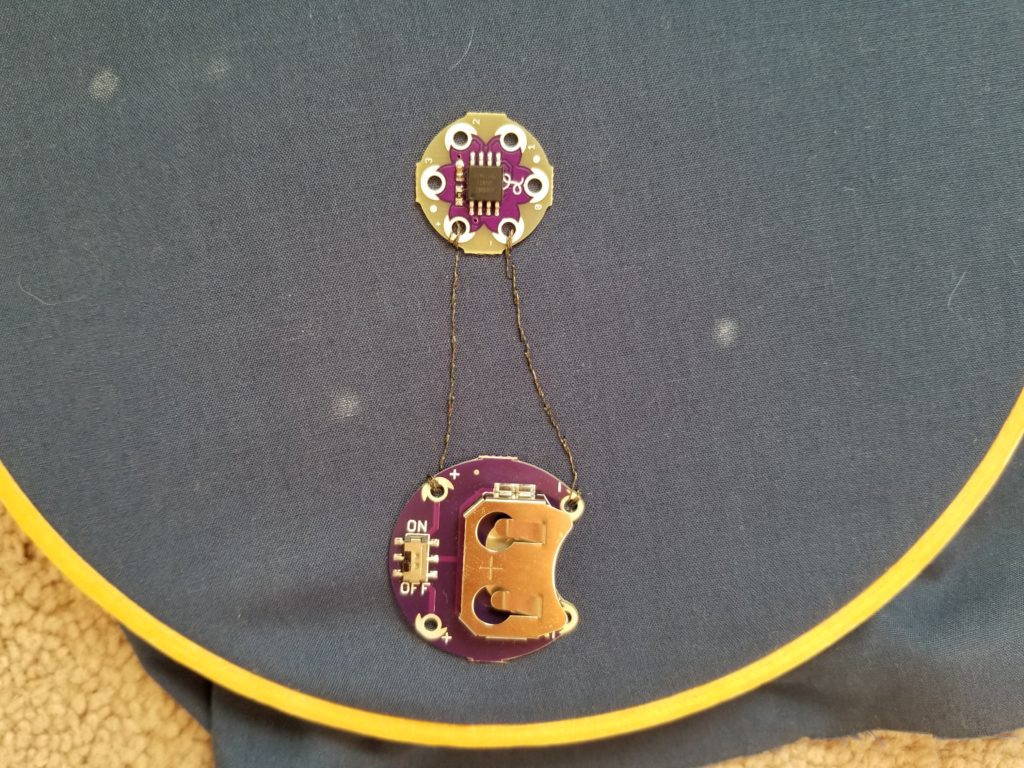
Word of advice? Make sure you have working batteries before you make yourself crazy wondering why things aren’t working.
This was just a test, and I have an idea for an actual project using the Tiny Twinkle. I’ll be cutting it loose and starting on that hopefully today.
If you’ve ever considered adding lights or other effects to your projects, now is the time. The parts are cheap, and there is a ton of support online.
In the meantime, I’ll be tranfering these parts to an actual embroidery piece.